3 Step Guide to Getting Started
1. Add Skills
After you create your Skills Base instance, the first thing to do is create some skills.
Click on the "Skills Directory" tab on the left side navigation.
If there are no Skills in your instance you will be prompted to create your first skill. This will be created and nested under a new Skill Category that you will be able to move and change within the Skills Directory.
| 1.1 - Go to the Skills Directory |
 |
| 1.2 - Add skills |
 |
 |
If there are skills already in your account, there are two ways to add new skills.
Through the tree view
To add a Skill in the Tree View. Select the Skill Category that you want the skill to be added to, and then you will be able to click the add Skill button above the tree. When creating this skill you will also have the opportunity to set the category on creation.
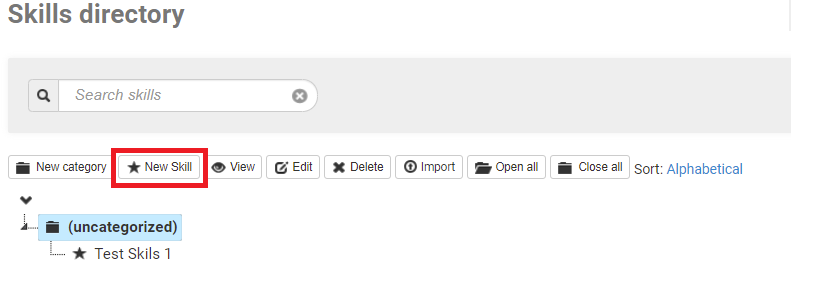
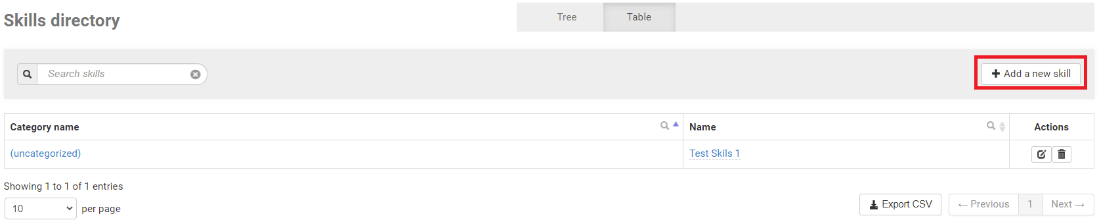
Through the table view
To add a Skill in the Table View click the add skill button on the top right of the navigation menu. This will then follow the same process to add a skill to your skills library.
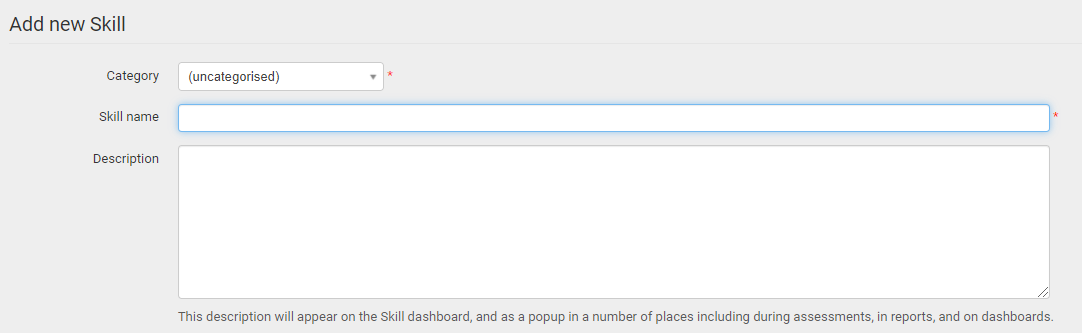
You will be able to add a Skill name (max 80 characters) and Description (max 1,000 characters). Once you create your first skill you will be able to add further skills and skill categories to group your skills into logical areas. Skill categories are then used to assign skills to entities within Skills Base and can also provide users with aggregated reporting for all skills that are in a skill category.
See Skills and Skill Categories for more information on setting up skills in Skills Base
2. Add people
There are a number of ways to add People in Skills Base - and you can do all of these from the "People Directory" - but the quickest and easiest way is to use the "Add People by Invitation" function.
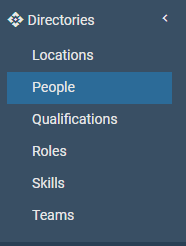
| 2.1 - Go to the People |
 |
|
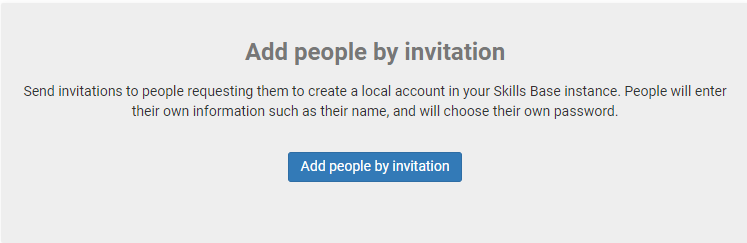
2.2 - Then go to: "+Add People" |
 |
| 2.3 - Add people by invitation |
 |
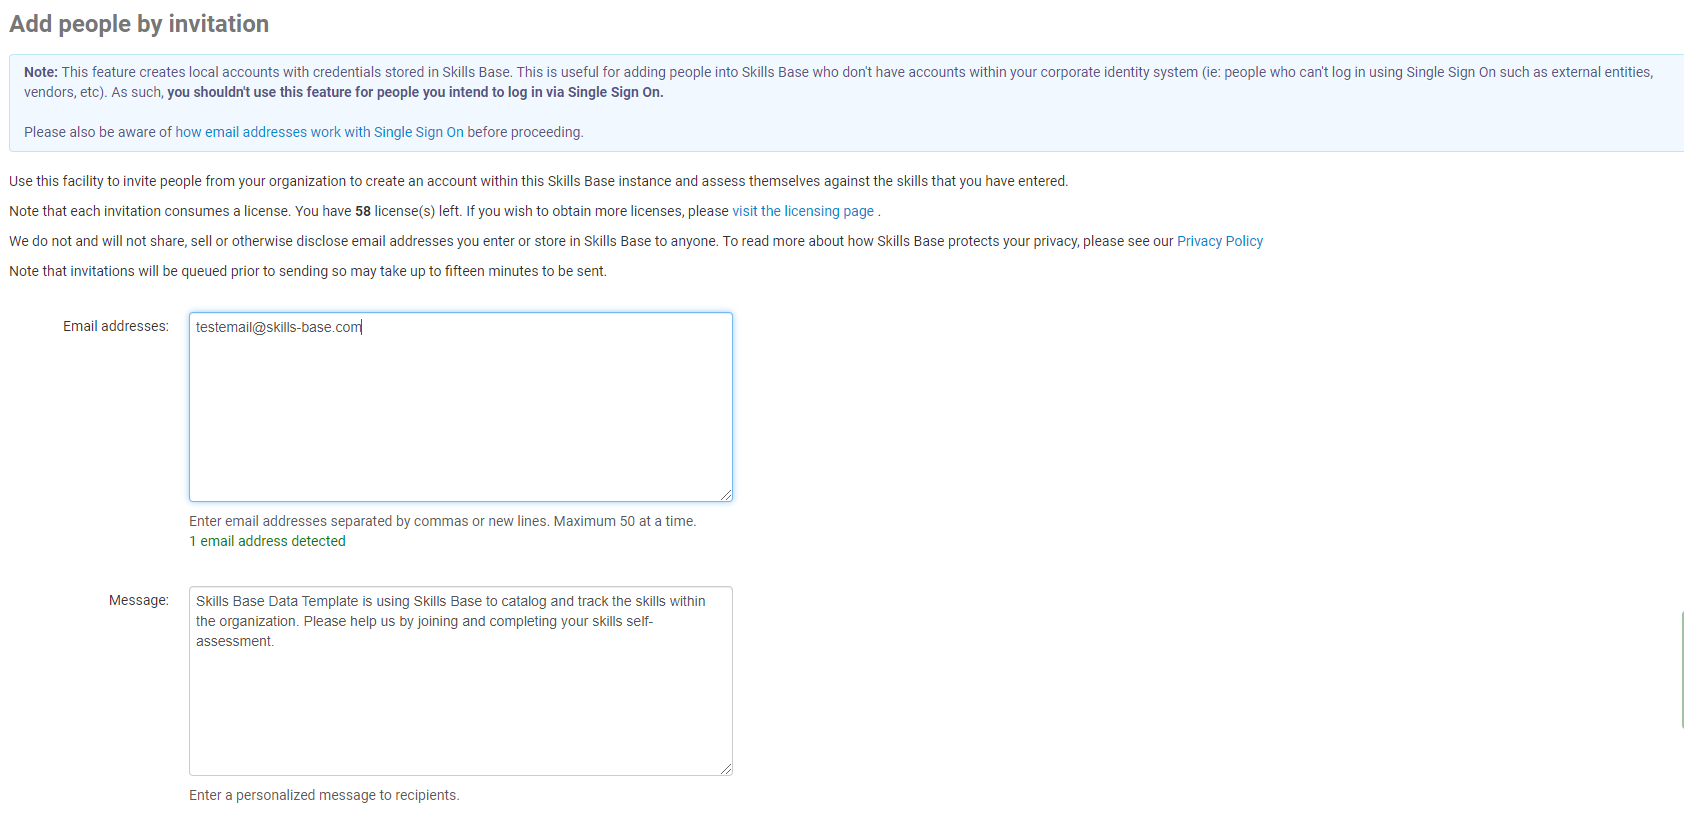
| 2.4 - Add email addresses |
 |
| 2.5 - You can set additional attributes, allow people to set the attributes themselves, or leave them blank. |
 |
 |
See Adding People for more information
3. Assessments
Once users have been invited they can begin assessments. The invitation email they receive will step them through setting up a password, logging in and completing an assessment.
You can also take an assessment for yourself, or complete a supervisor assessment for any users that have logged in.
To complete a Self-assessment:
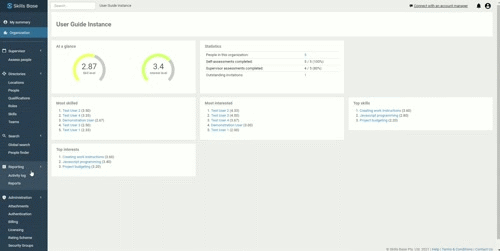
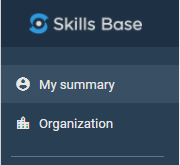
| 3.1 Go to My Summary |
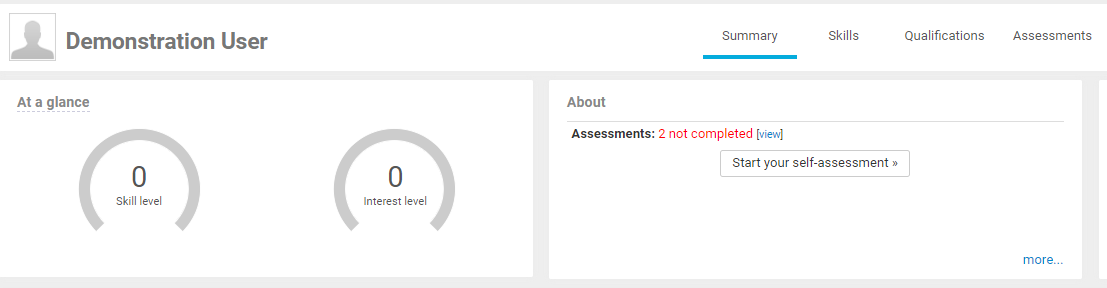
 |
| 3.2 Click on Start your self-assessment |
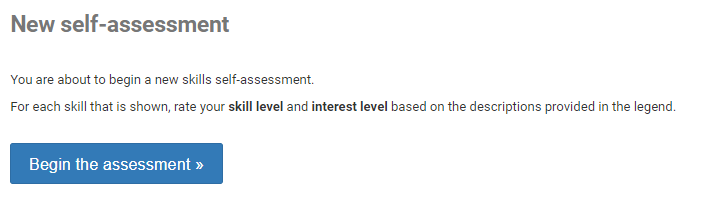
 |
| 3.3 Then follow the prompts |
 |
| 3.4 The assessment screen will display each skill within each skill category. Simply select the appropriate Skill level and Interest level using the radio buttons |
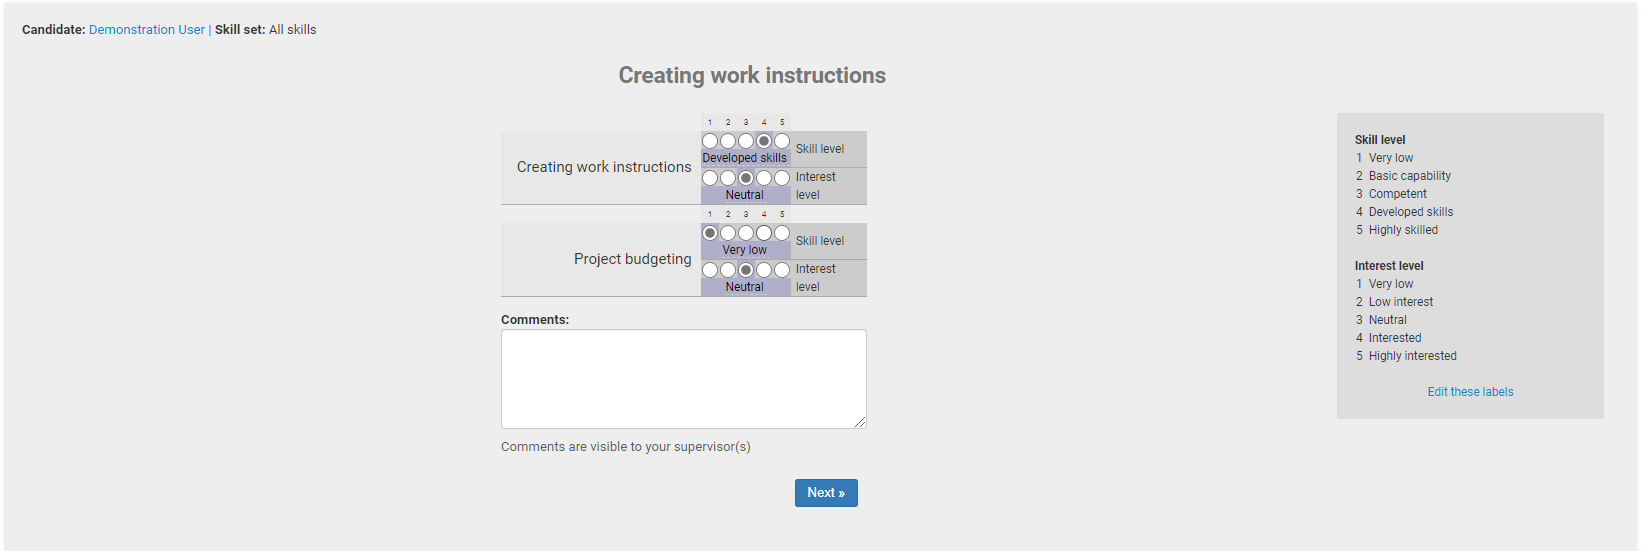 |
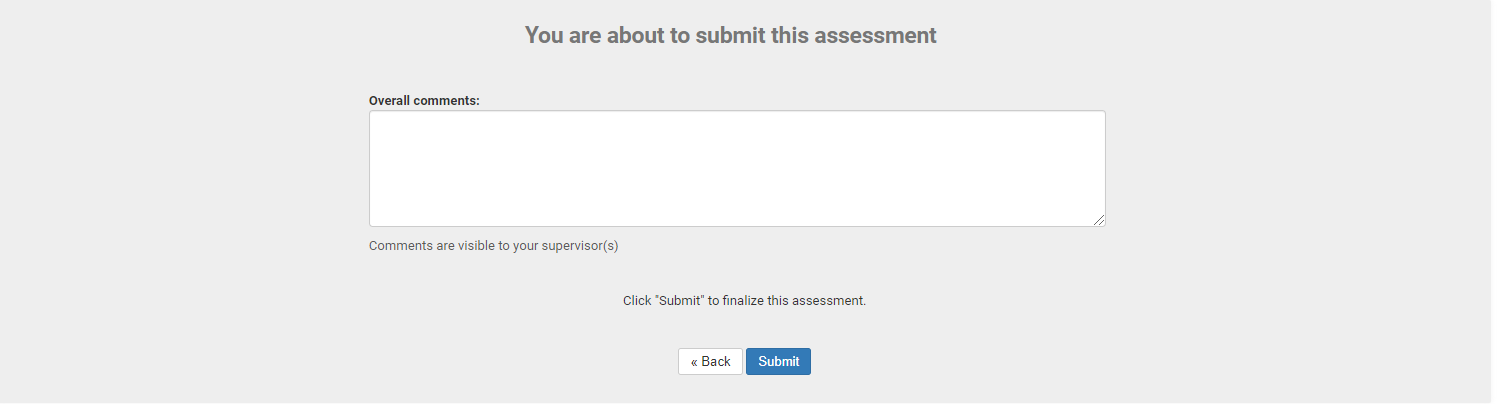
| 3.5 You can leave comments on each skill category or at the end of the assessment - click submit to finalize the assessment |
 |
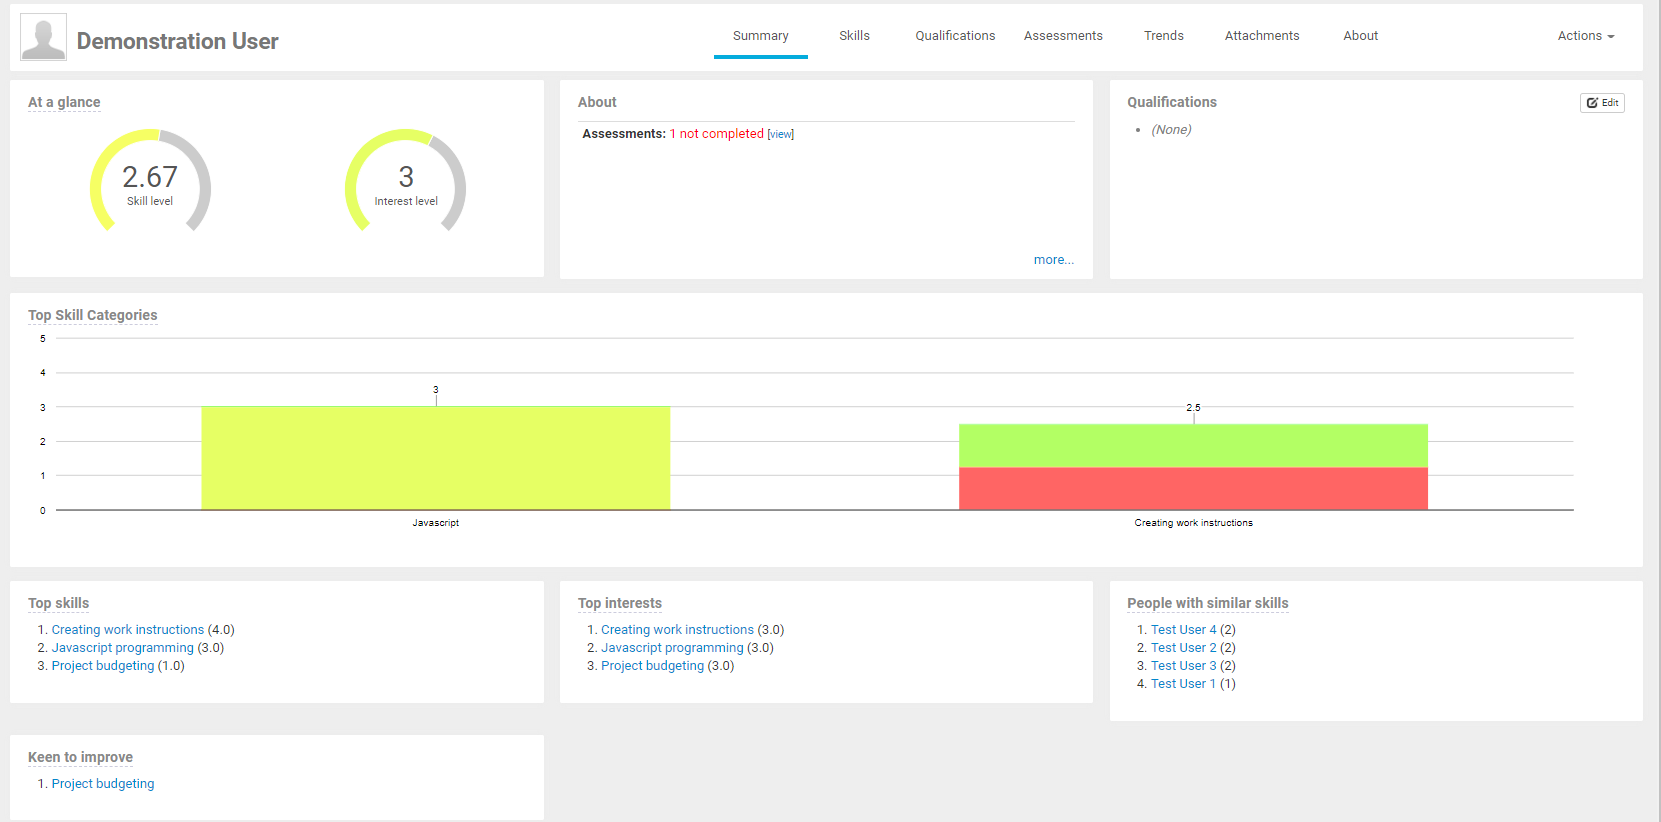
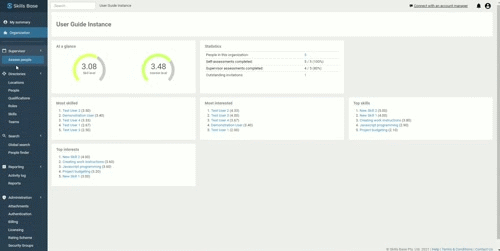
| 3.6 Click View my summary page to see a dashboard of your skill levels. You can use the tabs at the top of your dashboard, or click on skill names & People, to see more information |
 |
 |
To complete a Supervisor assessment
When users that you have invited into Skills Base have logged in, you will be able to complete a Supervisor assessment of them.
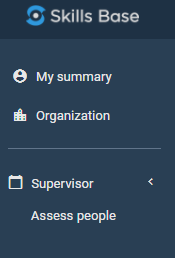
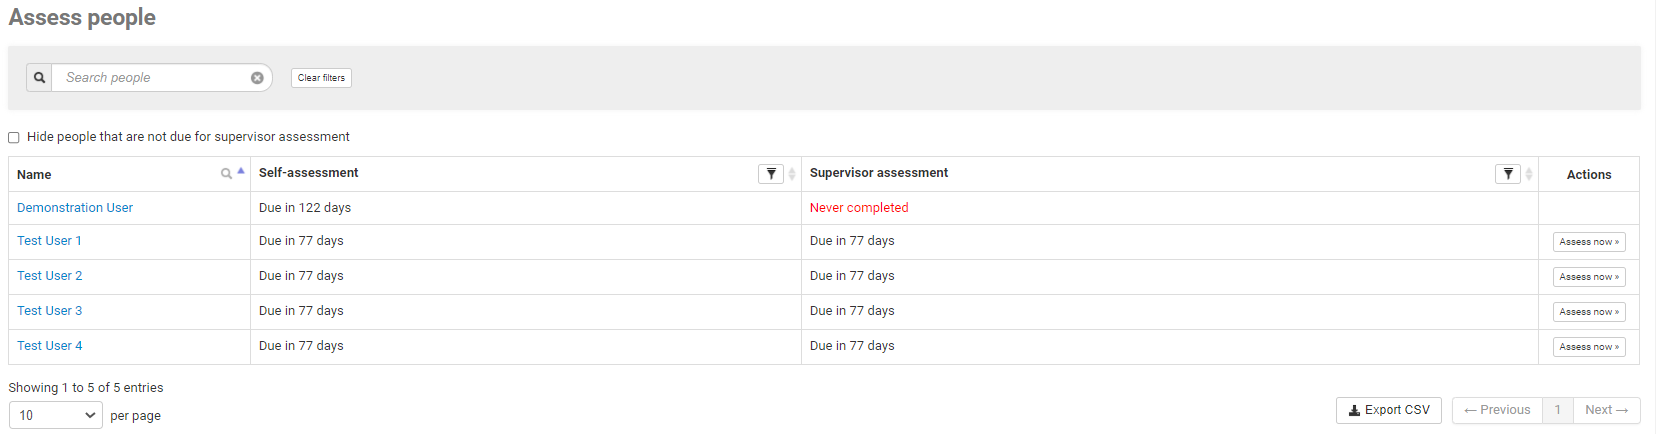
| 3.7 Go to Assess people |
 |
| 3.8 Simply click the "Assess now" button corresponding to the person you wish to assess |
 |
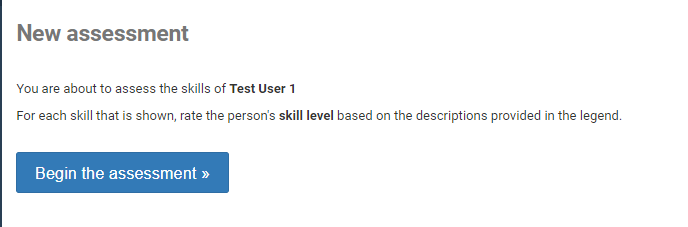
| 3.9 Like a Self-assessment, follow the prompts |
 |
| 3.10 The assessment screen will display each skill within each skill category. Simply select the appropriate Skill level and Interest level using the radio buttons. You can also tick the "Show responses from self-assessment" - this will add the blue bar and chevron above the self-assessment rating value (this is visible to Supervisors only and not to people doing a self-assessment) |
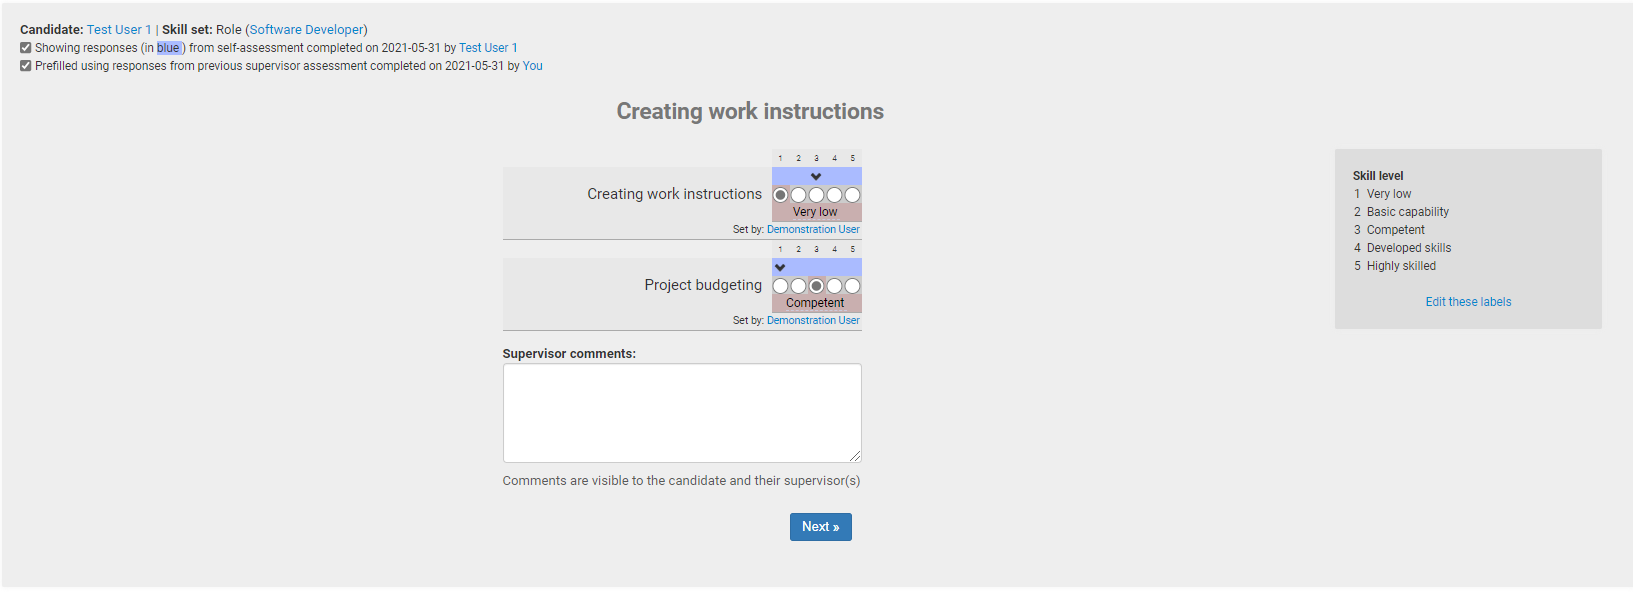 |
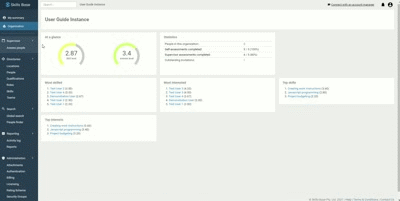
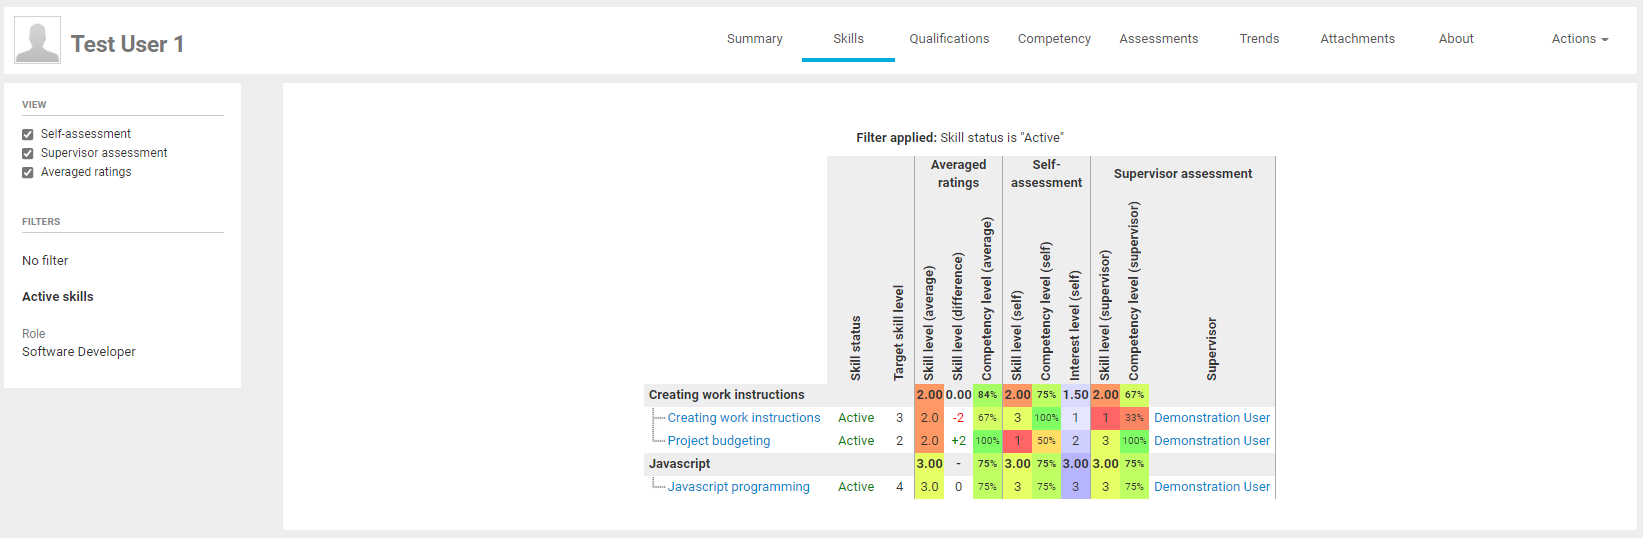
| 3.11 Click View summary page to see a dashboard of your skill levels. You can use the tabs at the top of your dashboard, or click on skill names & People, to see more information |
 |
 |
Reports
You can now see reports and dashboards based on the assessments that have been completed. Follow the below links for more information on how to run reports:
It's that simple.
If you want to get deeper into getting your Skills Base instance setup - see our Complete Getting Started Guide